Wish we had things like the outhouses (even pros like CrisppyTacos don’t have them)
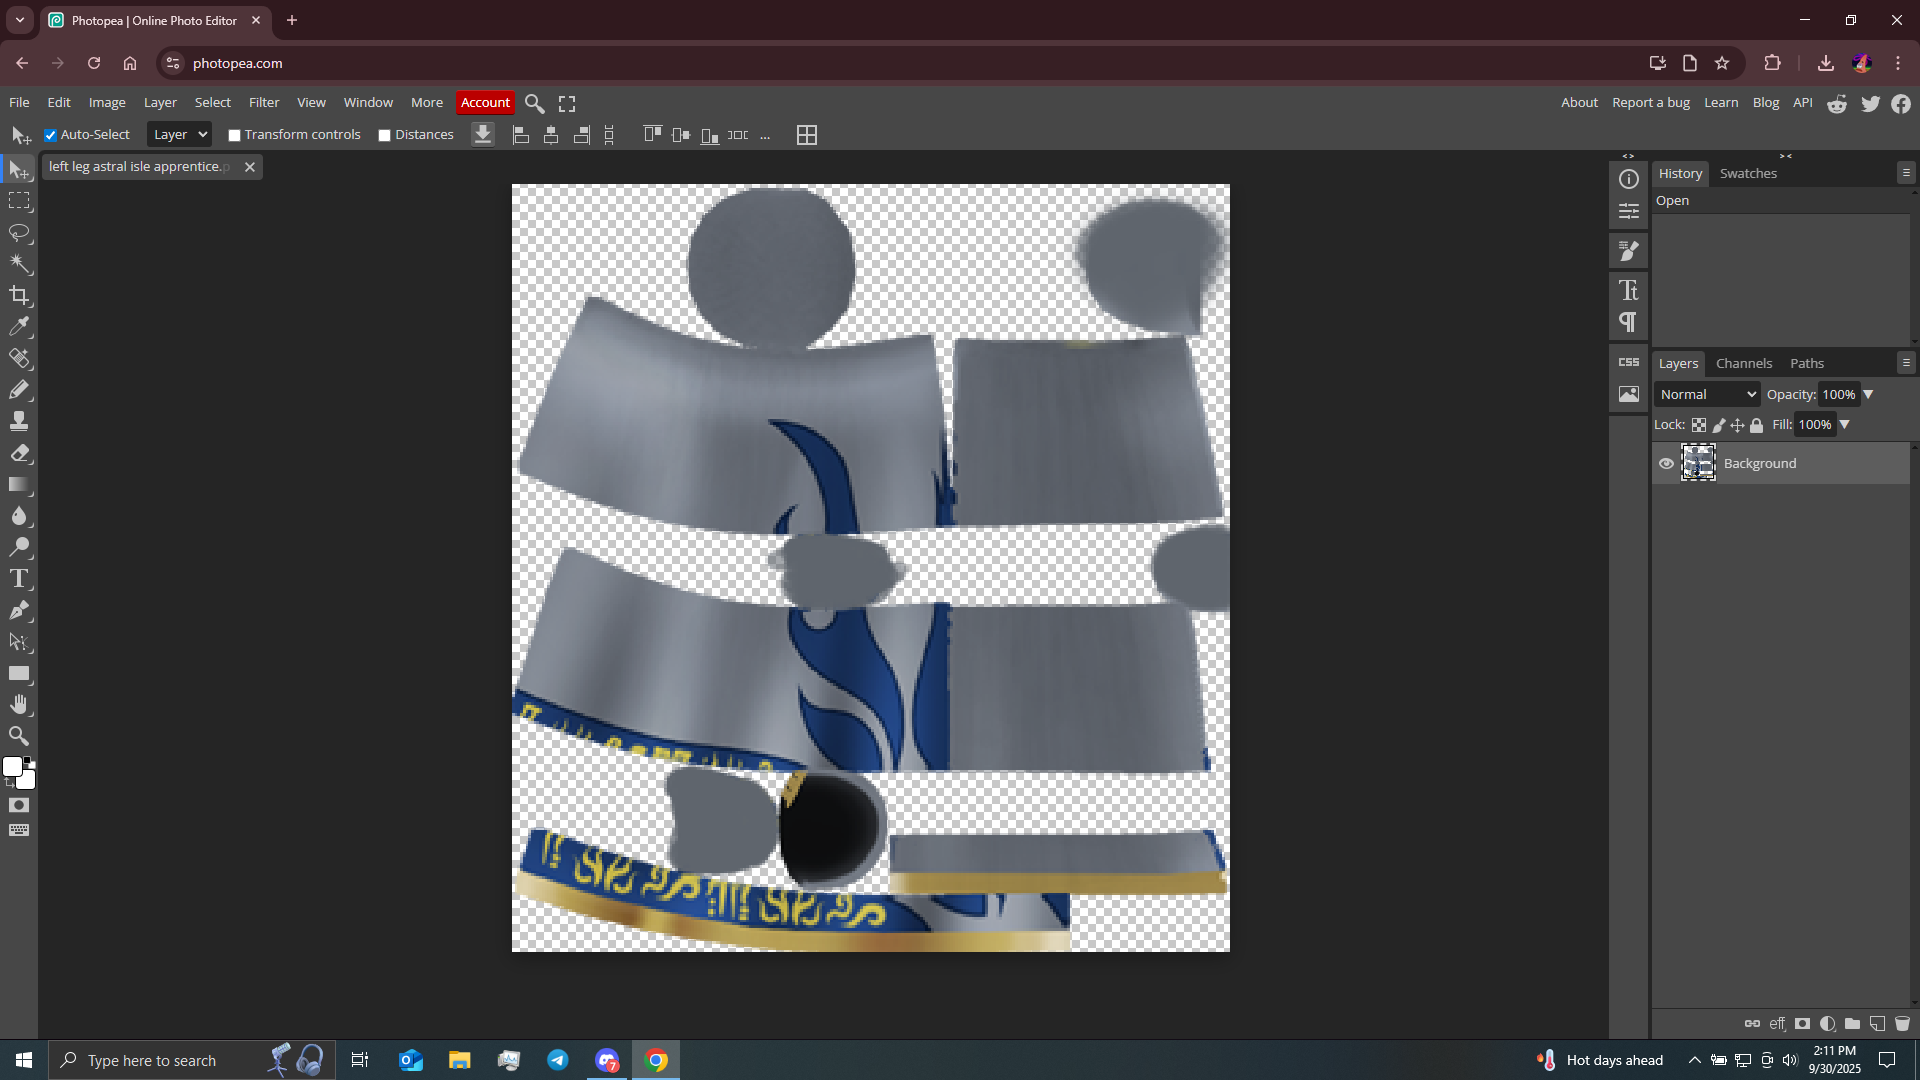
Which software should i use to texture since am newbie here
photopea
Thanks
too hard stopped reading 3 letters in
okay so i finally learned how to recolor now, now i need to learn about retexture which is what i need to remove the symbol or any anything on Texture
so if anyone here want to know how to recolor, here is tutorial (not mine)
I finally did my first AO character rig
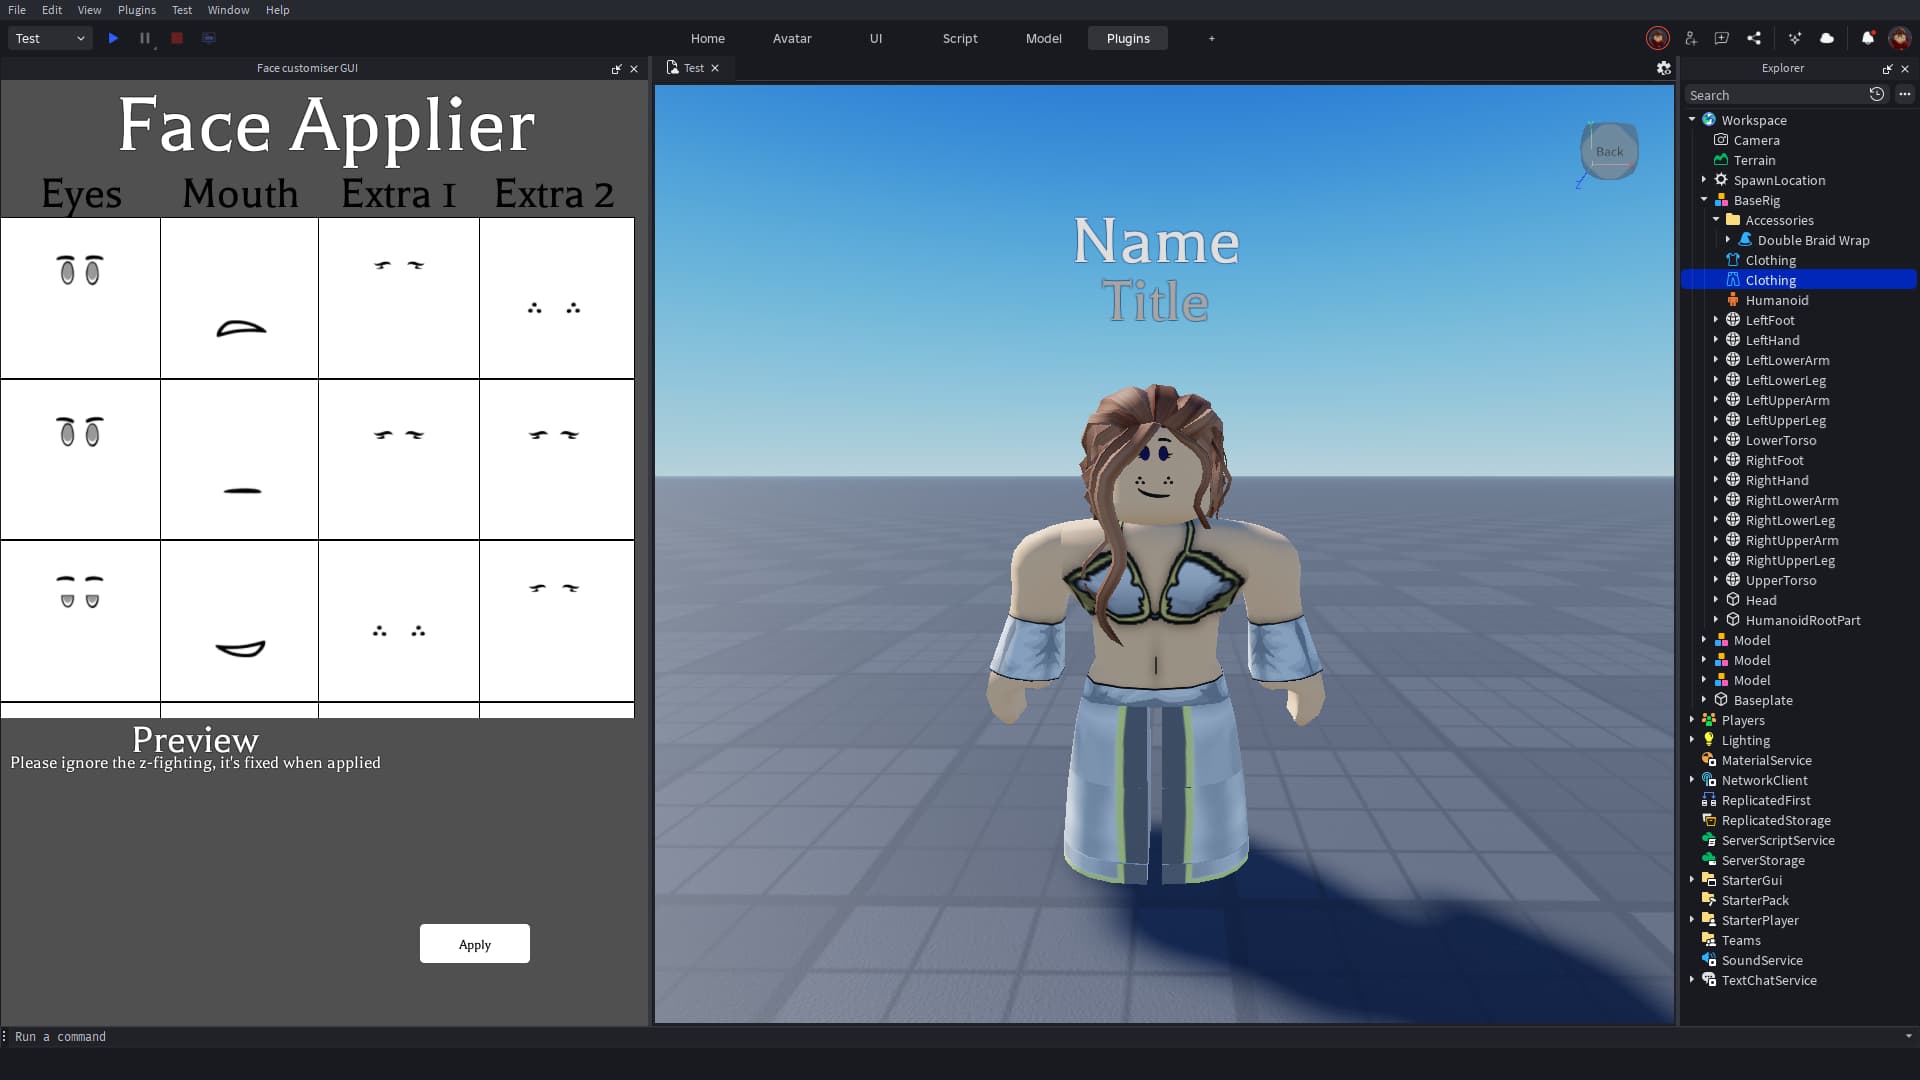
For siren pant, I have to recolor White samurai legging or pant since it look almost identical to siren pant
2 Likes
did you check your dms
Nope, in discord or here?
Nope, not yet
I finally know how to do it now, I was fucking idiot whole time
Ayee, good job 
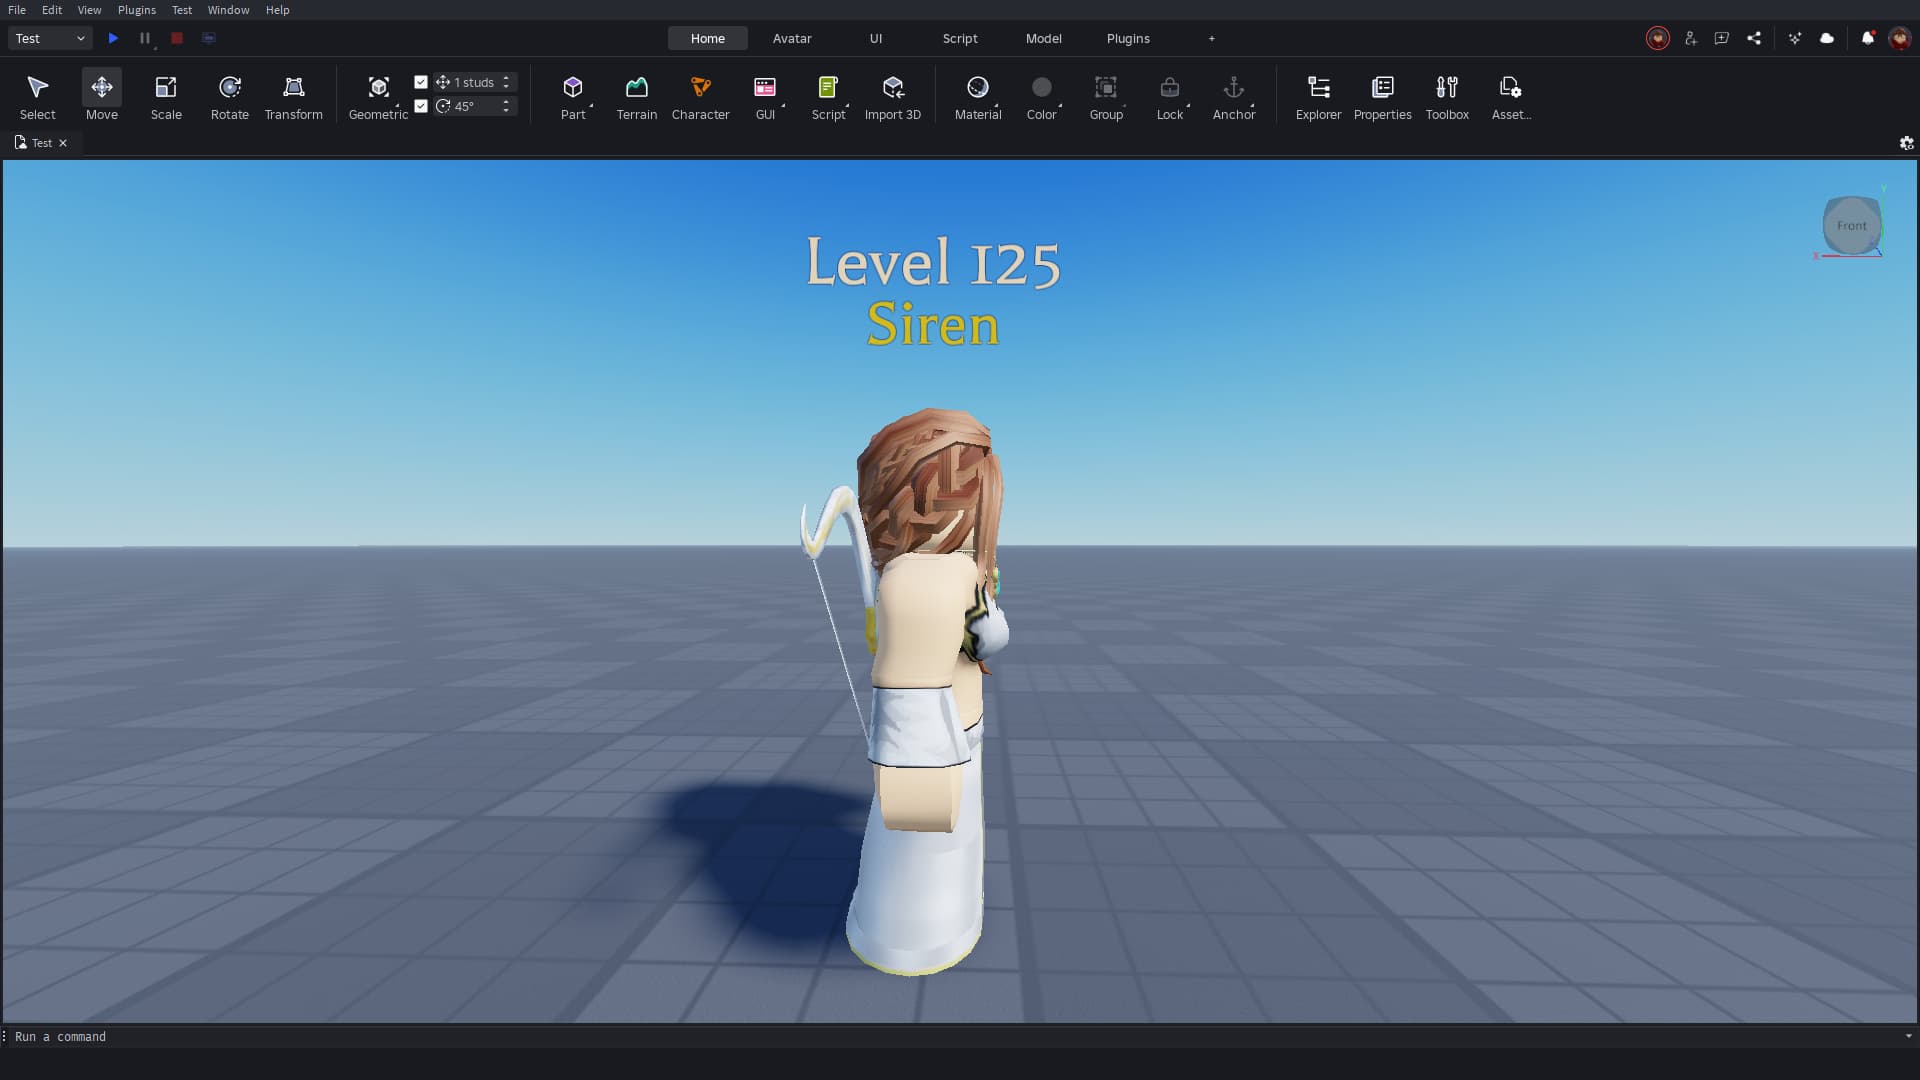
Right Side
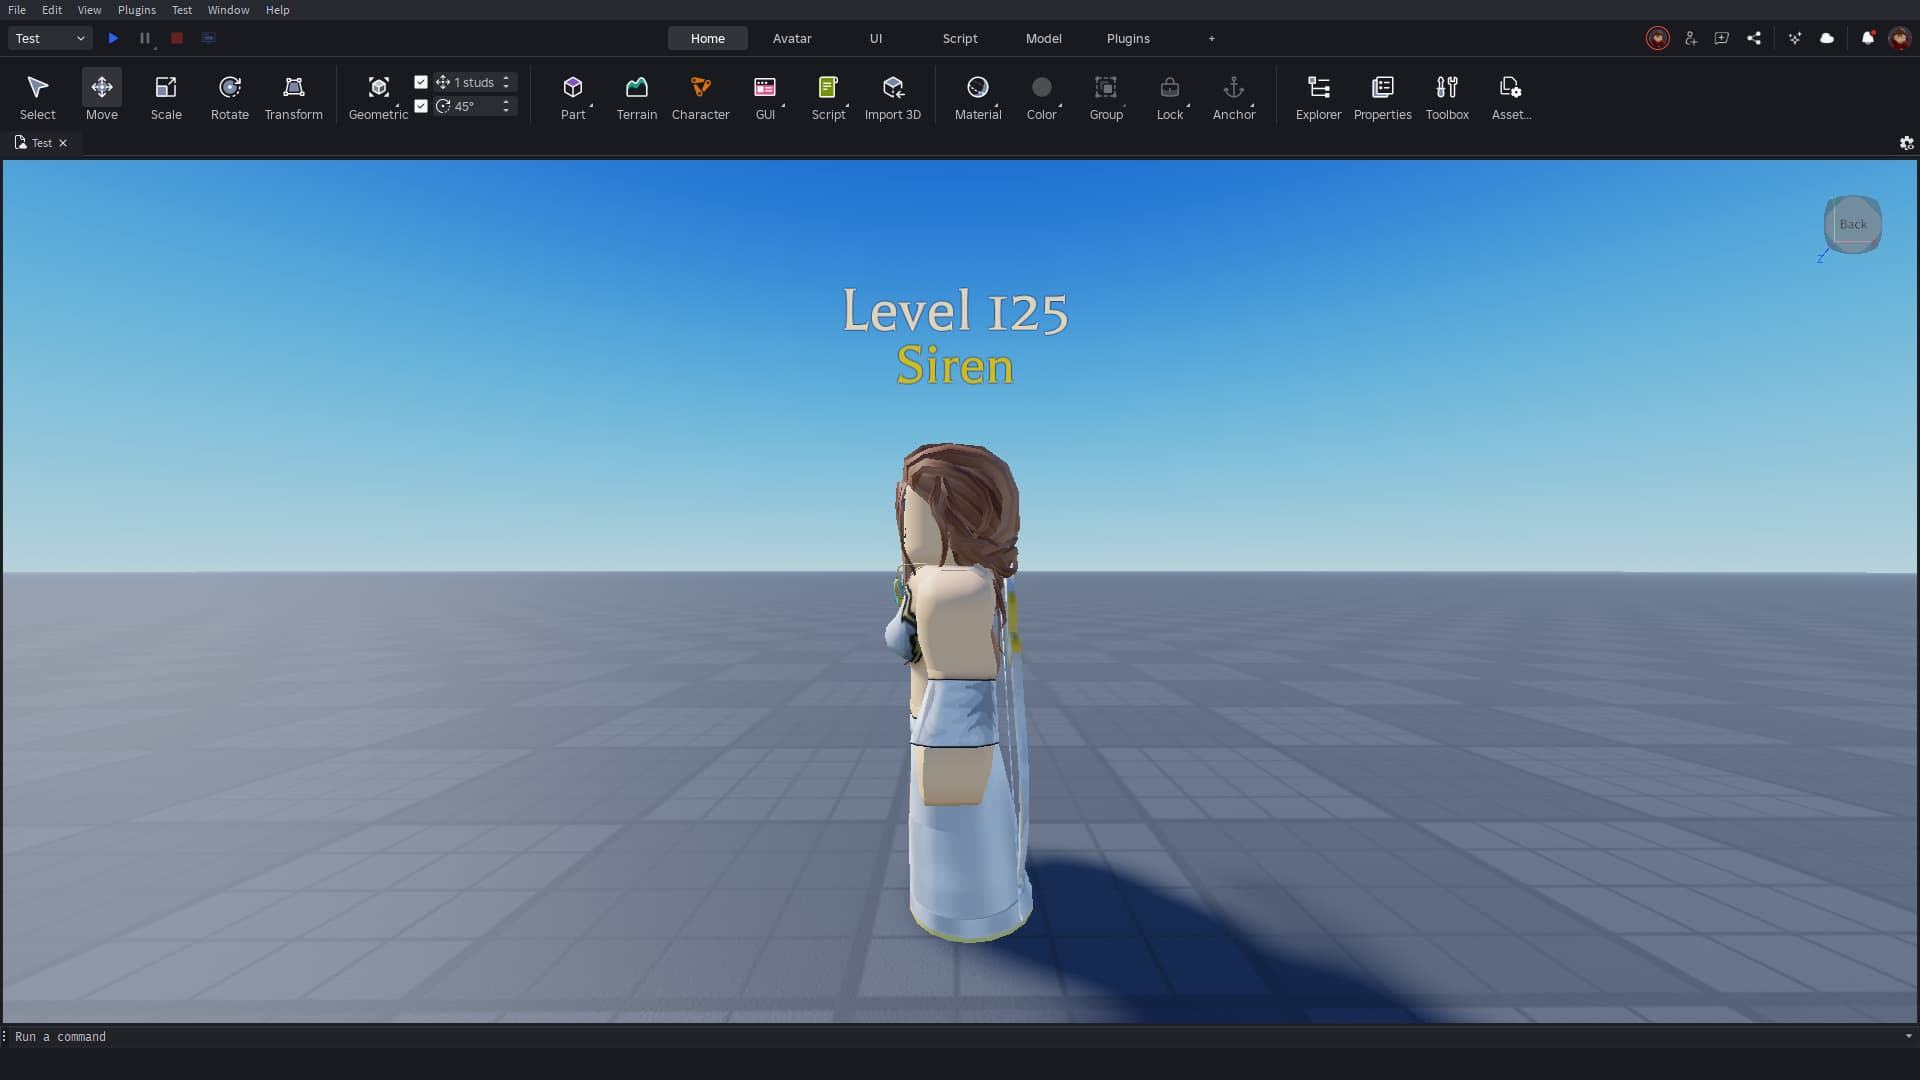
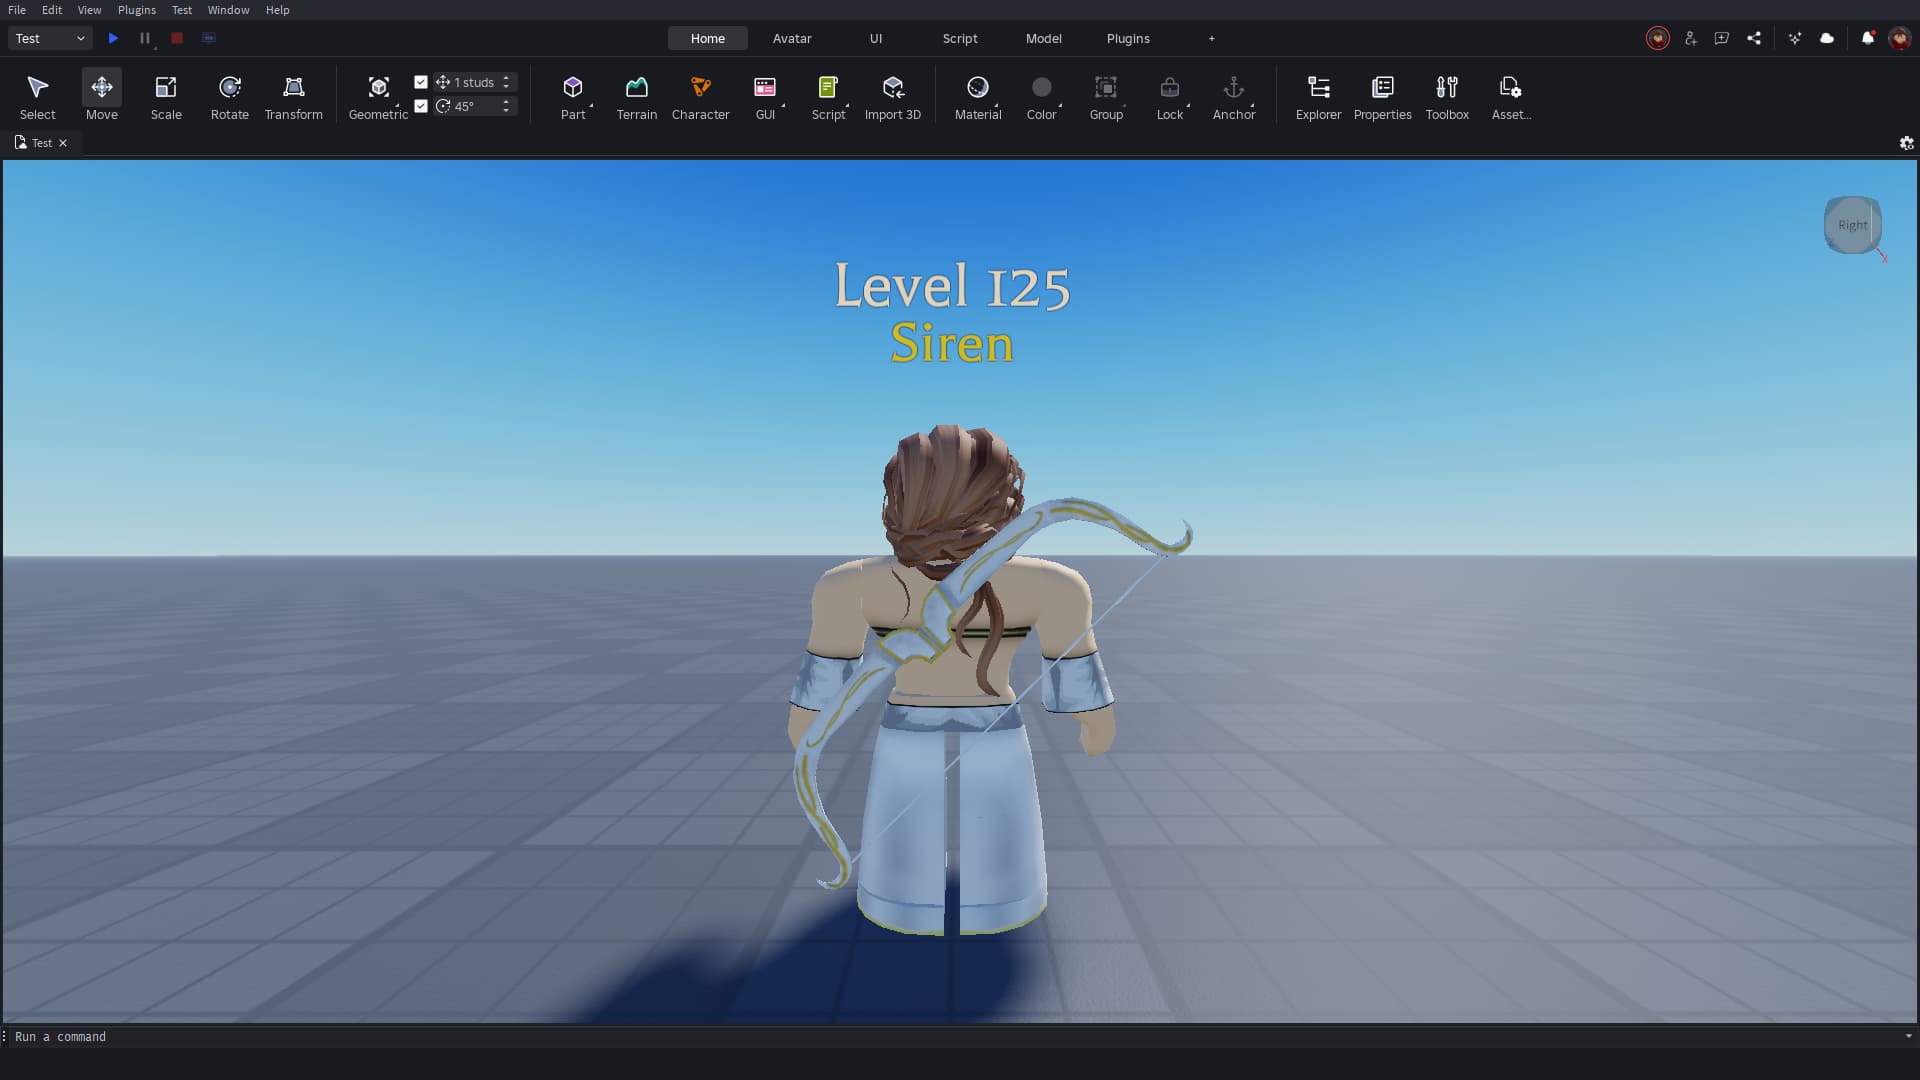
Behind
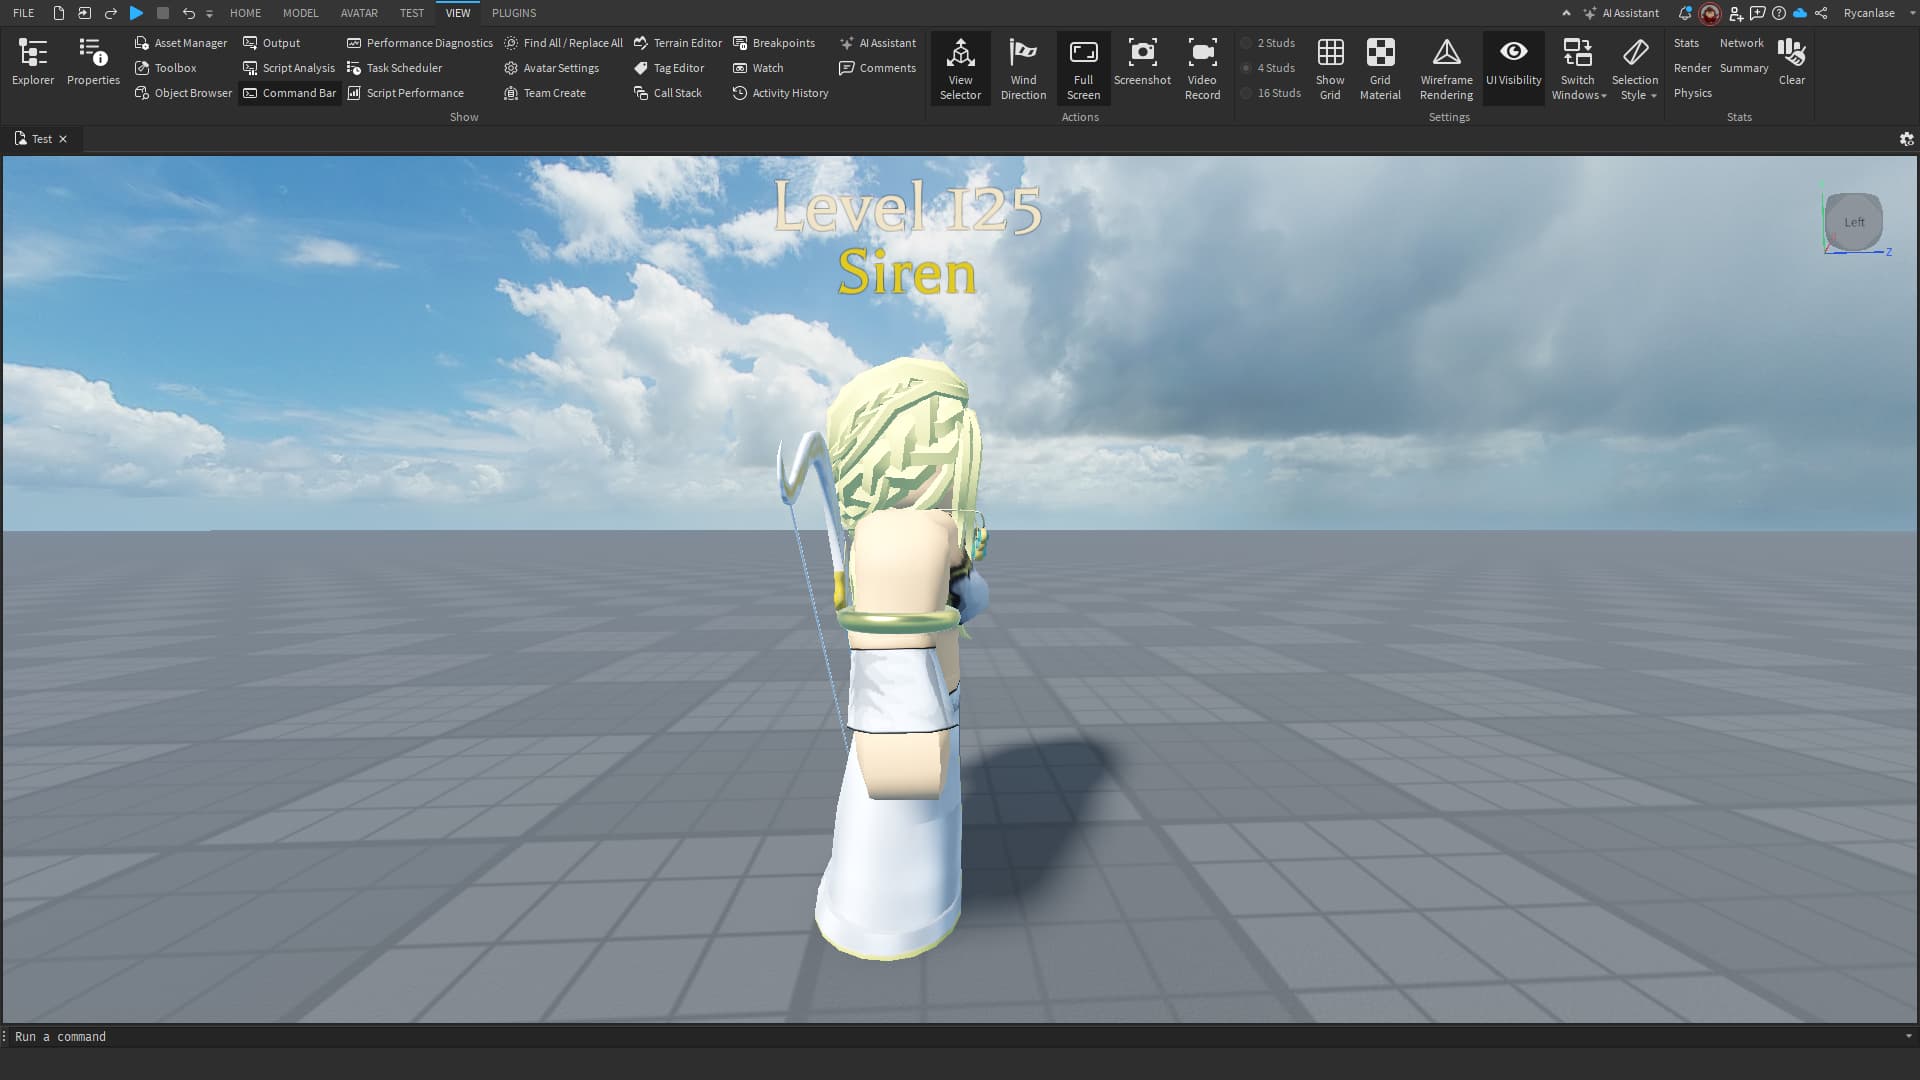
Left Side
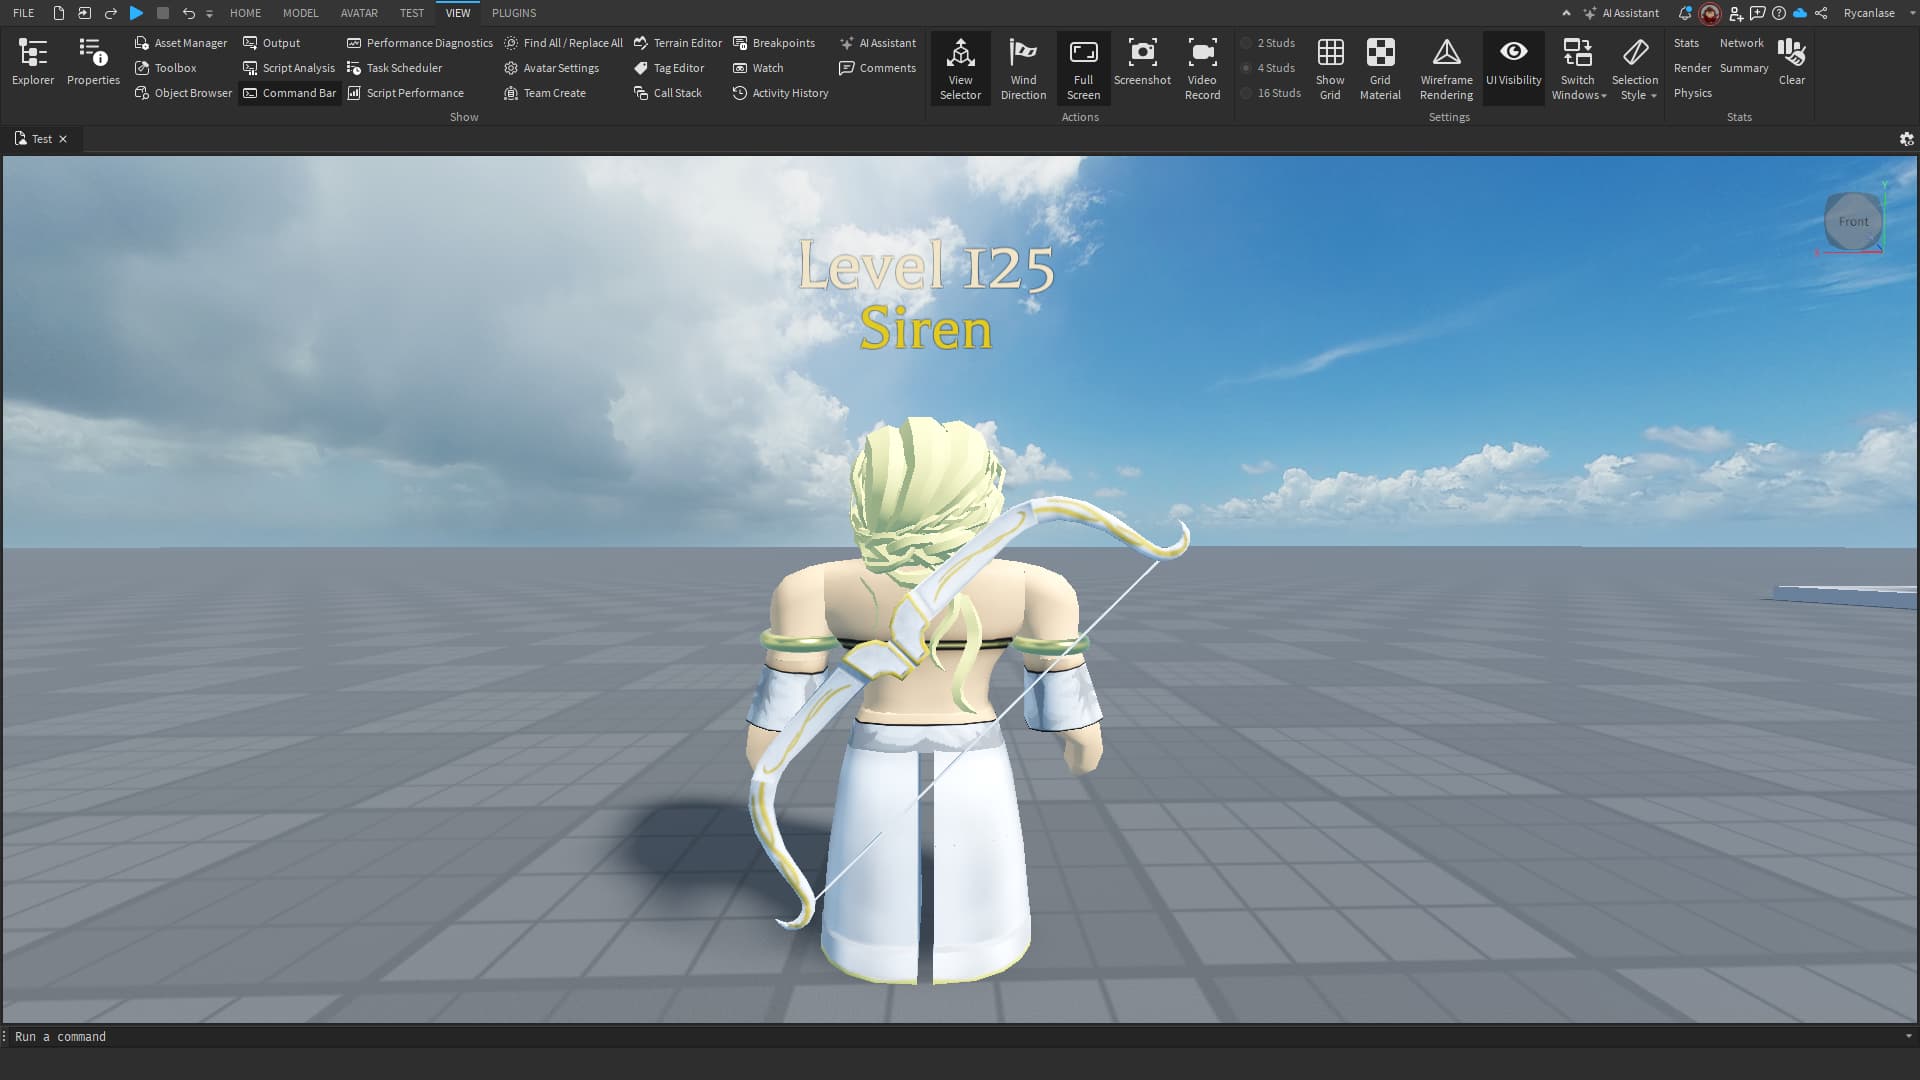
Front
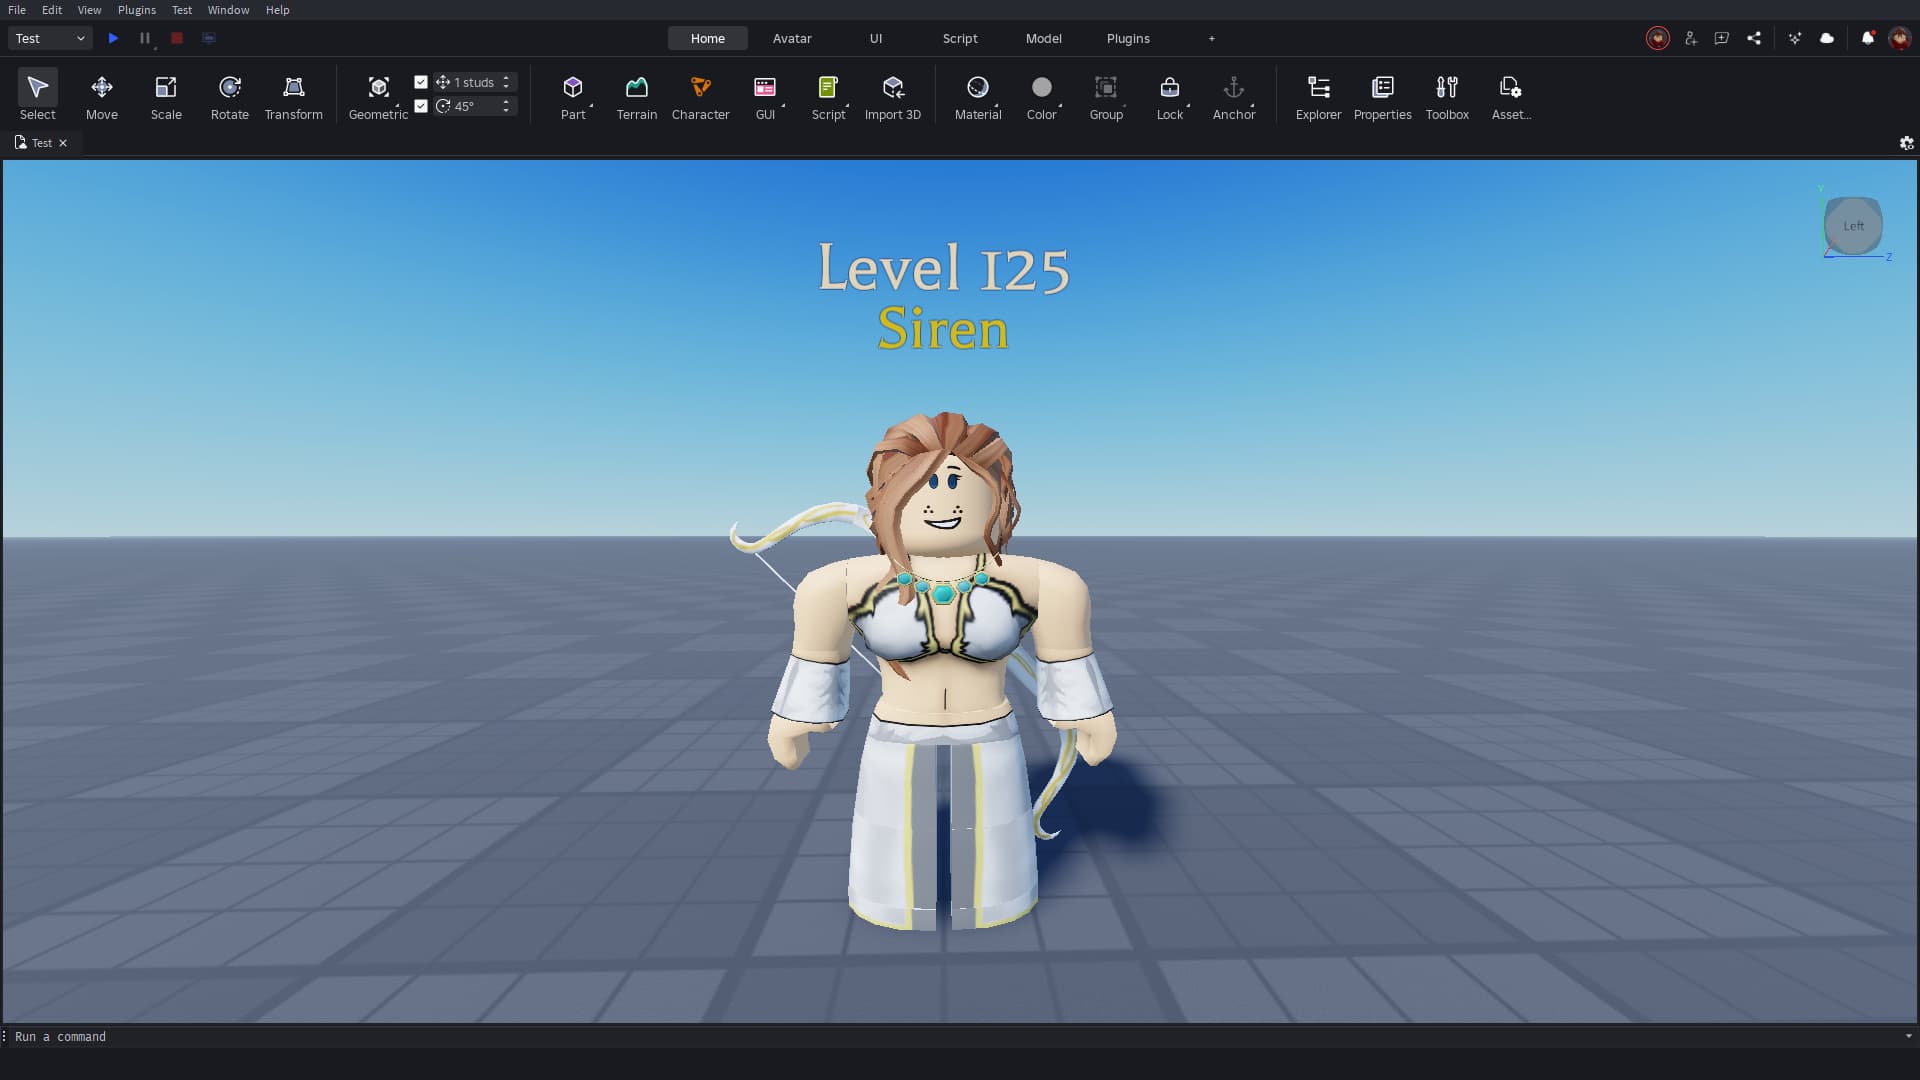
Today i added 5 new stuffs to character rig
- Boob Torso Mesh
- Giant Amulet (Fair Agility)
- Skybow (Changed it TextureID and Renamed to Siren Bow)
- Title (Siren)
- Name (Level 125)
Next i want to add Either Gold Armband or Gold Bracelet to Character rig (if anyone found ID for one of them, send it here)
1 Like
Also why does Siren top in the game look way different than the one i got from shirt template made by vetex (uploaded by vetex back in 2023)
Nvm i got the ID For Siren Top or Bra that is used in AO after empire update
rbxassetid://76008921693164
I Finished all Character rig works
Front
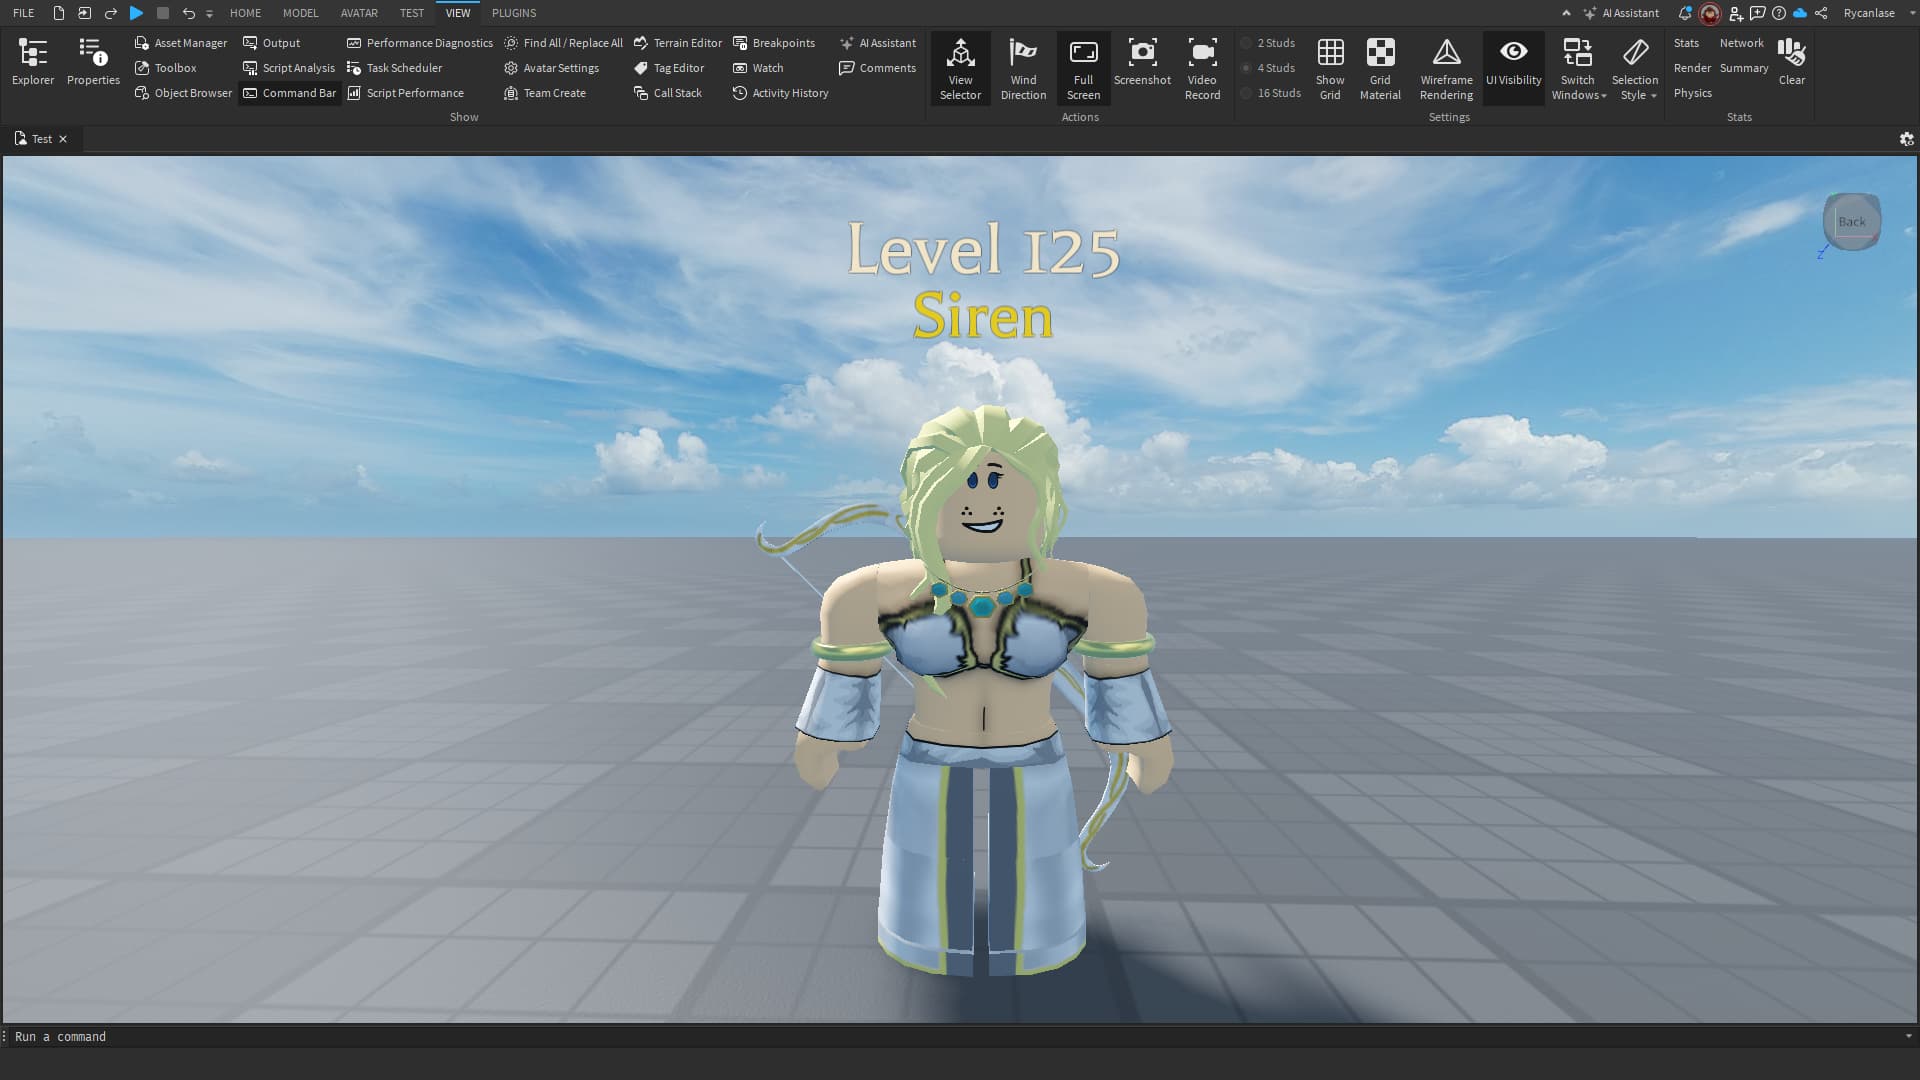
Back
Left side
Right side
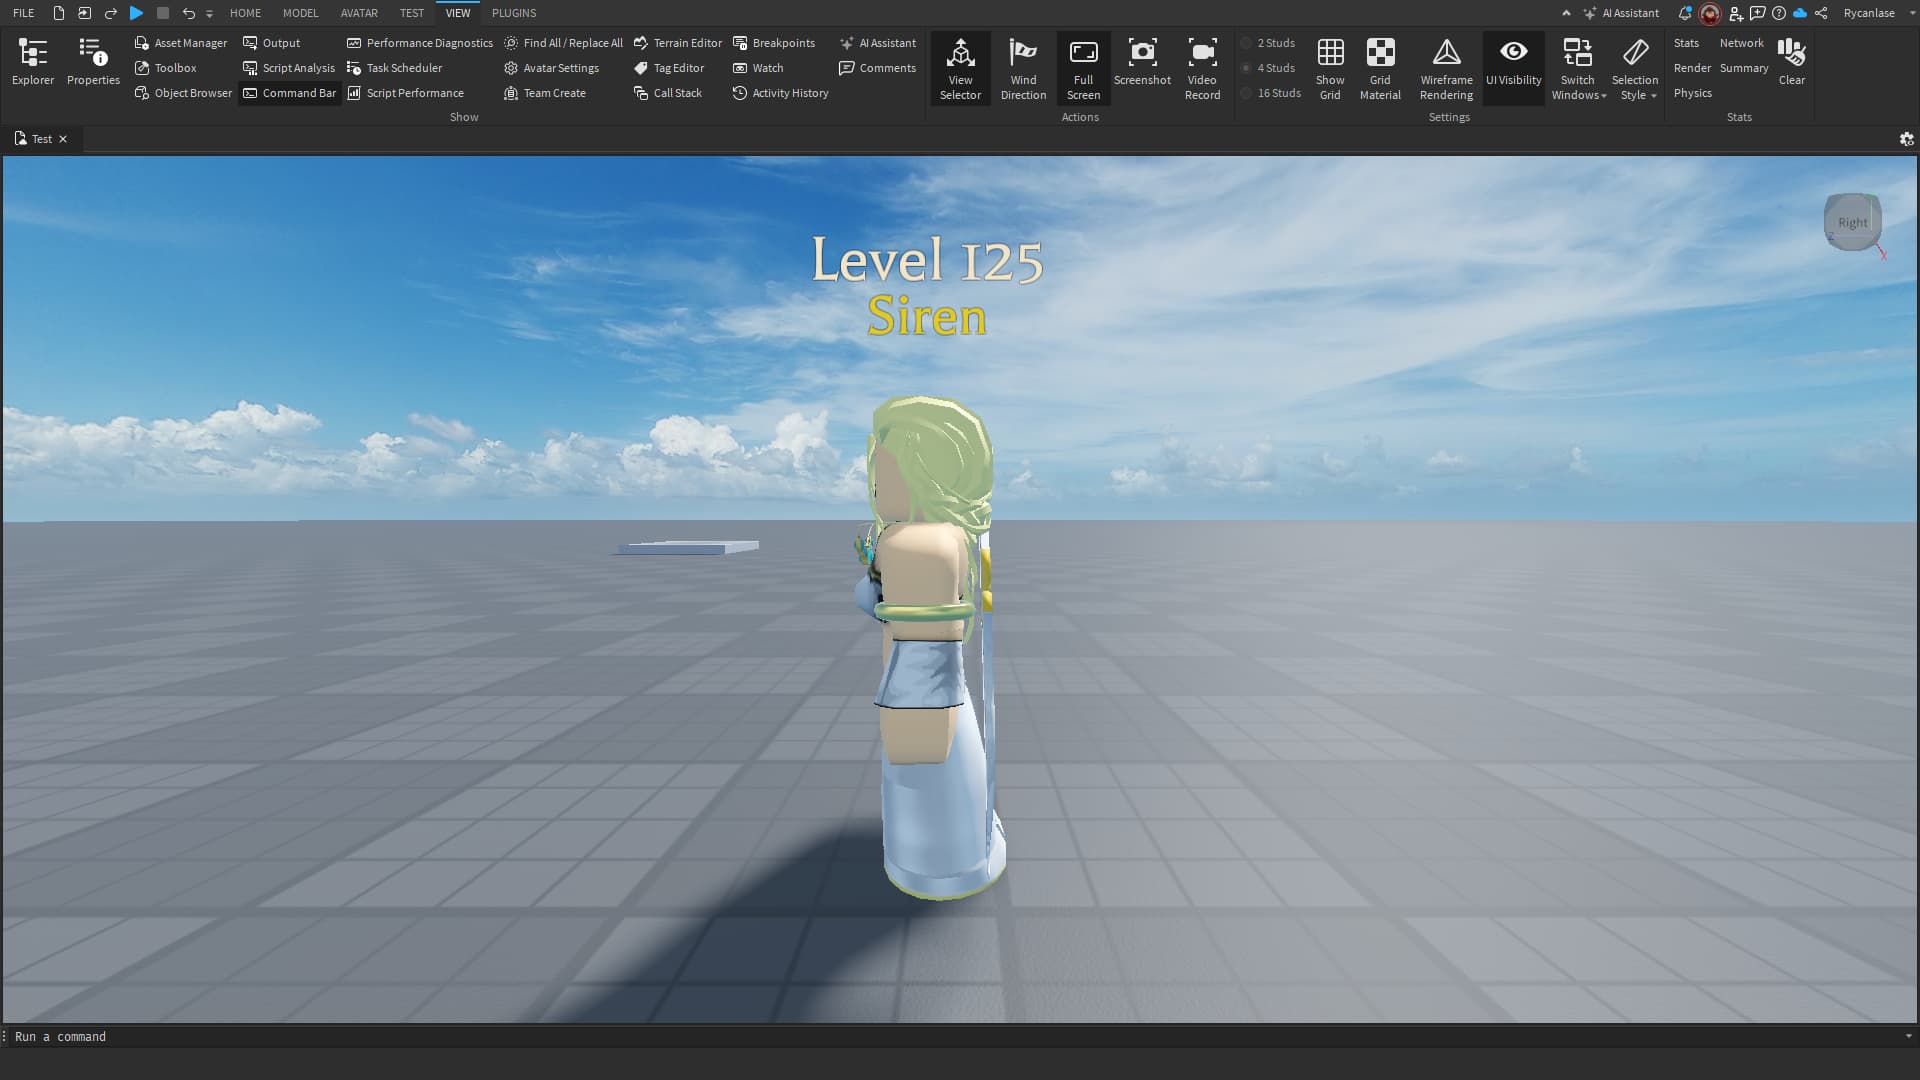
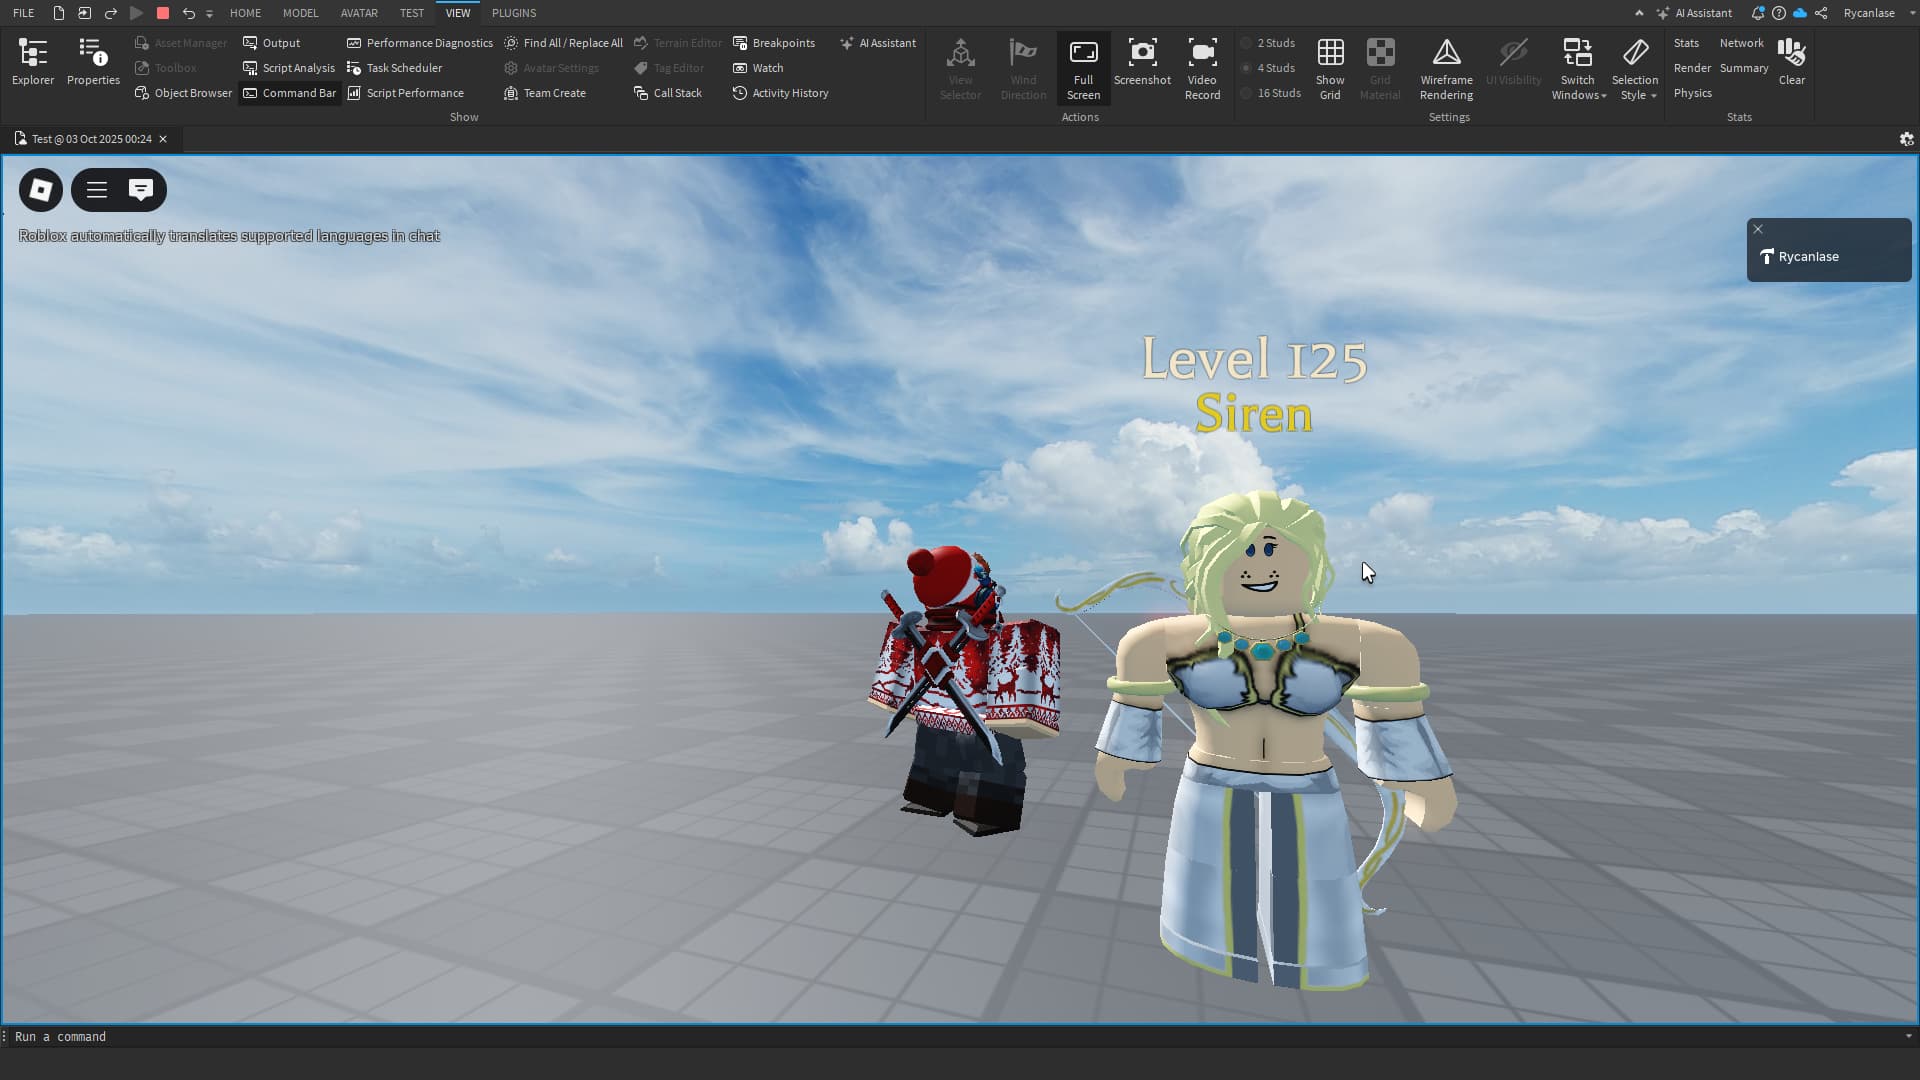
I also managed to get Siren bow, Bejeweled Amulet (Changed Texture for teal color), Double Braid Ward (Hair) and Armbands to actually not fell off from character rig by placed WeldConstraint on them and then went to property of each of them and assign Part of Character rig and Accessories to Part0 and Part1, after that i moved those Accessories to Accessory File and did the same with other Accessories
Ex: I assigned UpperTorso as Part0 and Siren bow as Part1
Head as Part0 and Double Braid Wrap as Part1
LeftUpperArm as Part0 and Armband (Left) as Part1
RightUpperArm as Part0 and Armband (Right) as Part1
UpperTorso as part0 and Bejeweled Amulet (Changed texture to teal color) as Part1
Huge thanks to @JTN and @Ultimate For Teaching me how to Connect Part0 and Part1 of WeldConstraint.
i know i yap lots here but this is first time finally actually learned
Image below is the result
2 Likes