This is (going to be)a complete guide to every single aspect of Arcane Odyssey. Mechanics n stuff are split between nonspoilers and spoilers, so that for people that just want a quick explanation of something don’t spoil the entire game for themselves.
Do note I’m not nearly done yet, as there’s much for me to write down.
Mechanics
A Guide to mechanics that do not spoil the game
Treasure, W.I.P. (missing images/maybe inaccurate chest tier names?)
if looking for an explanation of Sealed Chests, view Sailing/Cargo/Sea
Treasure chests are an object that you can open by pressing e
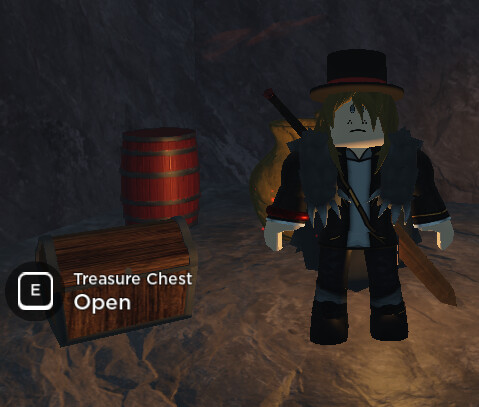
These contain loot based around your level, meaning you’re not able to get something that’s 100 levels above yours, but also not loot that’s 430 levels below either.
There are many, many variations of chests, which all give different things.
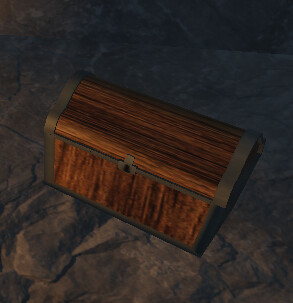
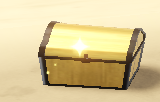
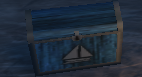
Treasure Chest
The basic treasure chest. Contains basic loot. Has a silver and gold variation that give better and more loot, specifically 2 for silver and 3 for gold.
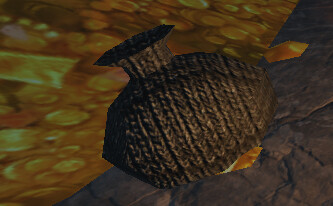
Ingredient Bag
Ingredient Bags are a variation of a treasure chest. These contain a few things you can find on shores and similar areas, like seasonings. They have an uncommon and rare variant, which drop better ingredients
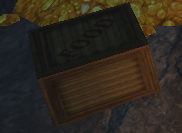
Food Crate
Similar to Ingredient Bag, this contains different foods you can find on islands. Has an uncommon and rare variant, which drop better food
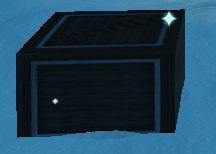
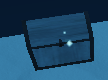
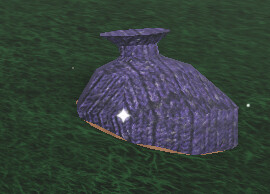
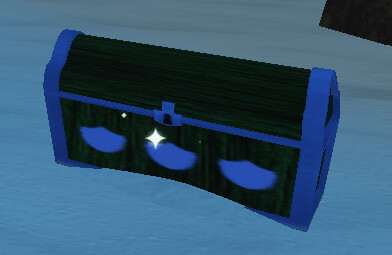
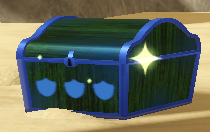
Sailor Chest
This variant is blue, and contains things such as sails and cannonballs. Has a great and elite variant, which drop rarer cannonball types and sails
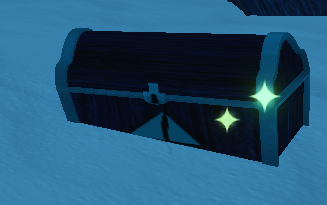
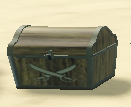
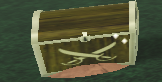
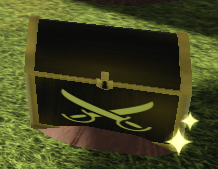
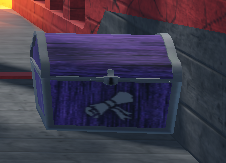
Weapon Chest
Weapon Chests always drop a weapon when opened. Has a great and elite variant that drop higher tier weapons.
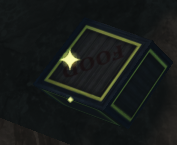
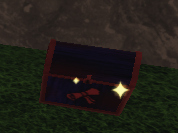
Scroll Chests
Scroll chests will always give you a treasure chart when opened, if you are at or above level 40. Has a great and elite variant that give uncommon and rare+ charts respectively.
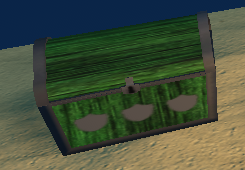
Armour Chest
Armour chests are green and drop a piece of armour when opened. Has a great and elite variant that drop higher tier armour.
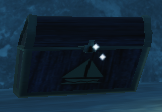
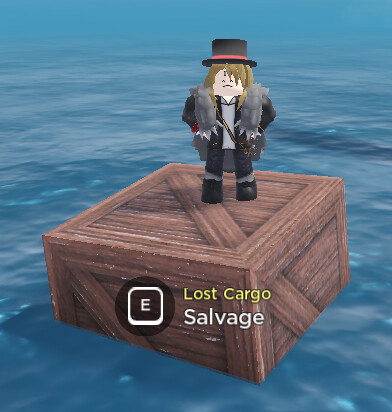
Lost Cargo
not to be confused with Cargo, a feature where you buy cargo from a shipwright and bring it to another for profit
Lost Cargo is a type of chest that spawns in the ocean. It always drops an item and has a wide loot pool. You should always go for any you see.
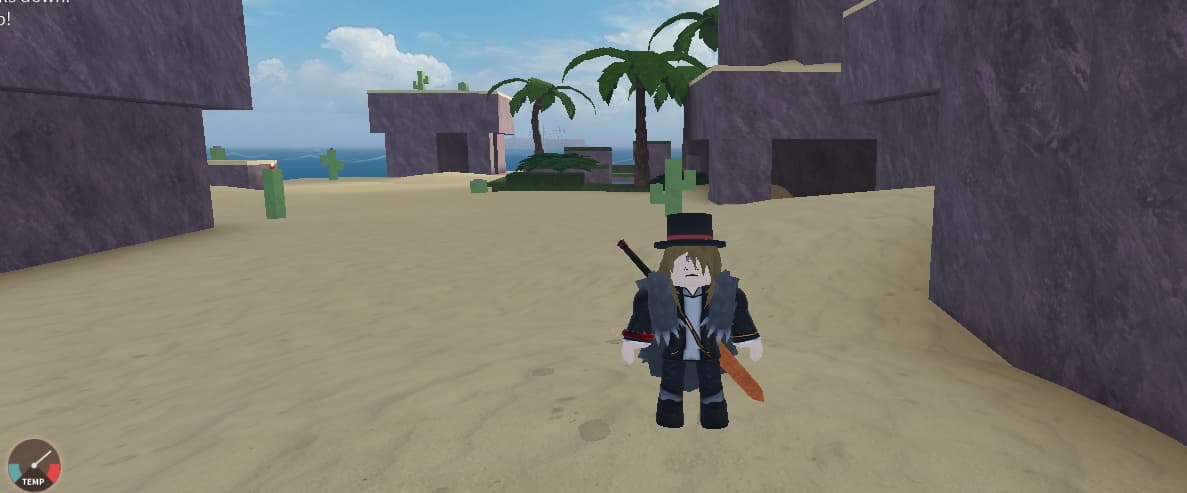
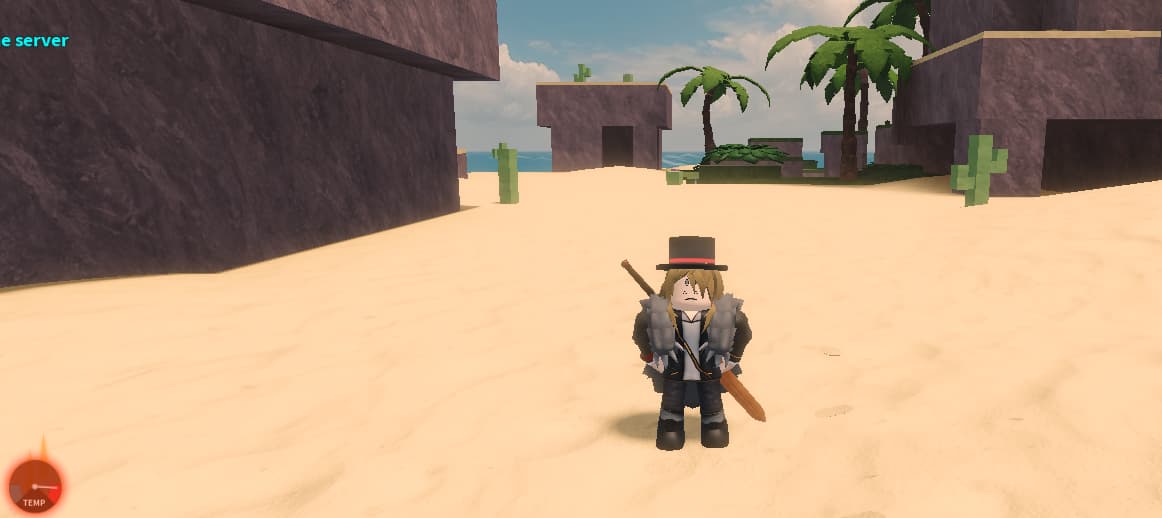
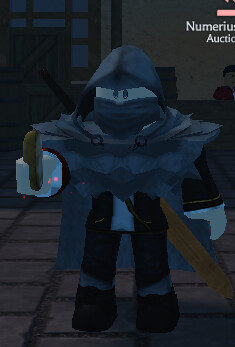
Temperature
Temperature is a mechanic shown by this lil icon.

depending on where you are, such as sea, on an iceberg, in a desert, or the sky, your temperature may increase or decrease. The weather can also affect temperature.
If you have a hot/cold magic, then charging with it can change your temperature positively, such as charging with snow magic cools you off if you’re hot and charging with fire magic warms you up if you’re cold
not overheated/freezing
Overheating happens when you’re too hot

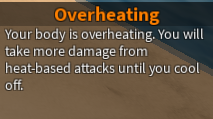
When you overheat, you take more damage from hot-based stuff, and the screen is tinted orange
overheating
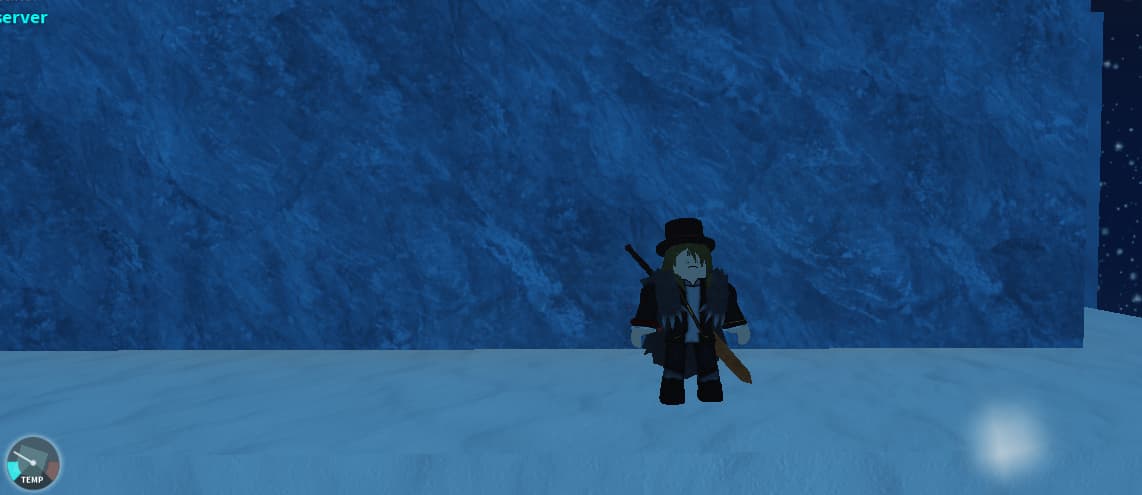
Freezing happens when you’re too cold

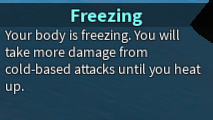
When you’re freezing, you take more damage from cold-based attacks, and the screen is tinted cyan
Cooking And Hunger
Hunger is a mechanic where after X seconds, you lose 1 point of hunger, and can be seen in the bottom left hand corner.
![]()
When your hunger bar is at 0, you begin to take damage often. Eating food fills the hunger bar by an amount specified by the icon on the top right corner.
![]()
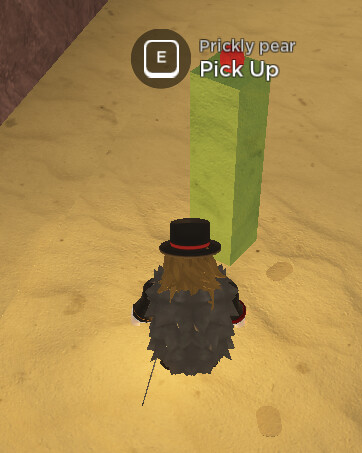
You can find food and seasoning lying around on islands, or bought from Food Merchants in towns. Some islands can have their own unique food type, such as prickly pears on Sandfall.
If a meal would cause you to go above 100, the hunger bar will go above 100, but you cannot eat any food while above 100 hunger either.
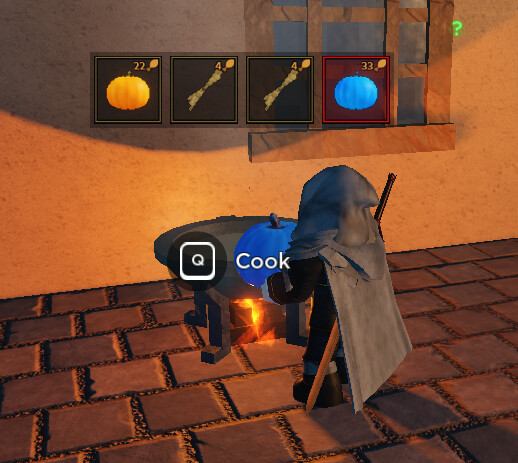
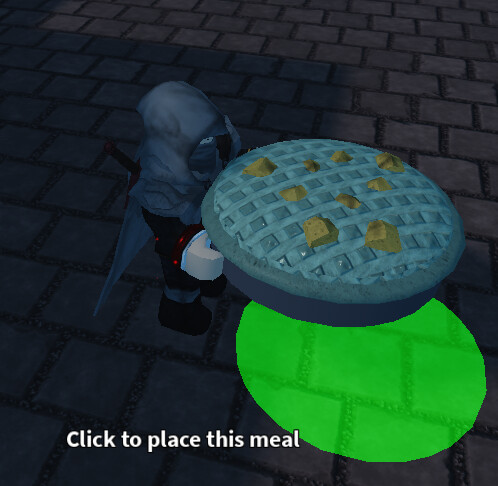
Cooking is the entire point of the hunger mechanic existing. Cooking is done by holding a food near a cooking pot,
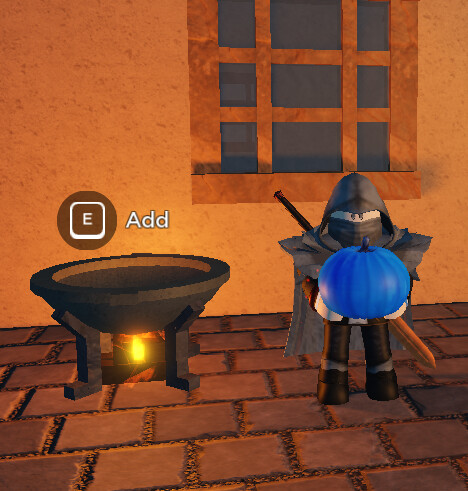
which then prompts you to either add it in or finish the meal if there is at least one food.
Cooking has a set of 5 tiers, attained by cooking enough total hunger.
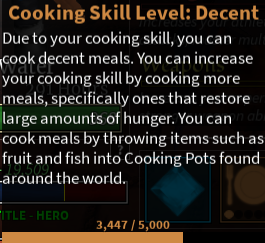
the higher your cooking tier, the more hunger/buff duration you get from meals
Cooking’s main benefit apart from making very hunger replenishing food is status effects, determined by the ingredients used.
Depending on the ingredients, the meal may be normal (handheld)
or large (placed, eatable in 5 bites, each one gives 20% of the listed hunger, and the full time of the buff. If you’re in a party with someone, that person can eat from the large meal as well).
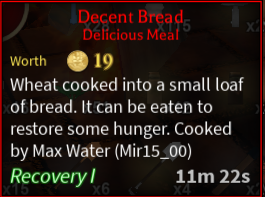
Status effects given by food depends entirely on the type of food, as seen when hovering over the food.
![]()
The more of a specific food you add, the longer the status effect may be (not too sure actually)
Adding Seasoning and other similar things will increase the status effect duration, but lower the hunger from the meal. Some can even add their own status effect to the meal, and even change the tiers of the buffs in exchange for decreasing/increasing the duration by a lot.
For a list of every seasoning and it’s effect on status effects, see Here
The status effects currently are:
Invigorating,
![]()
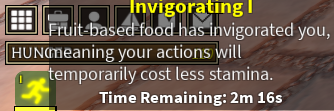
Which decreases stamina cost of actions, and given by Fruit.
Recovery,
![]()
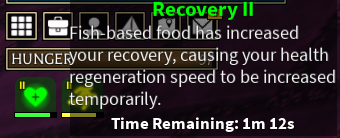
Which increases health regen, given by Fish
Energizing,
![]()
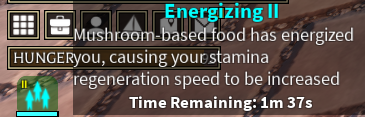
Which increases stamina regen, given by Mushrooms
Agile,
![]()

Which increases movement speed, given by Orange Swiftcap

Fortified,
![]()
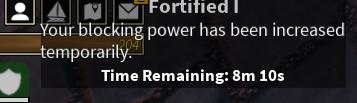
Which increases blocking power, given by Horizon Rosemary

Insanity,
![]()
Which is a whole nother thing you do not want spoiled, given by Cursed Mushrooms

Fishing
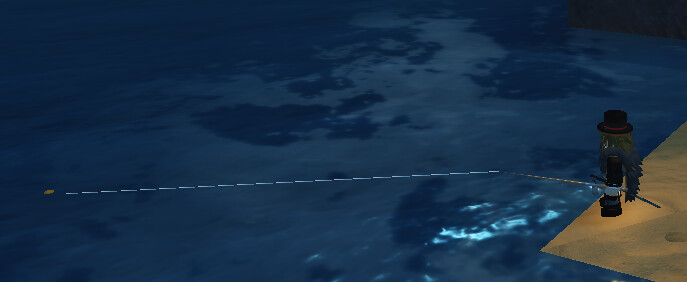
Fishing is a mechanic where, if you have a fishing rod, and at least 1 Fish Bait, you look at water, cast out your line, and wait for a bite.
When you get a bite (shown by the red ! above you), you need to spam click to catch a fish
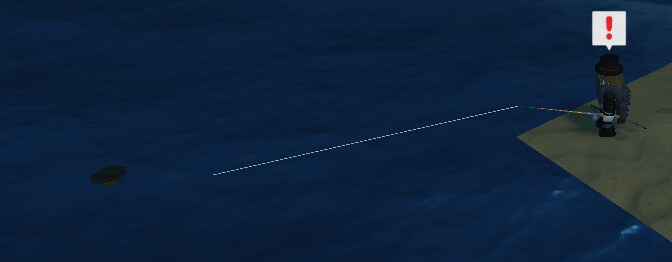
After catching a fish, you can see what it is on the side of your screen.
Fish have 4 variants that they can be. In order of value, they are: Small, Normal, Large, Golden
Large and Golden fish have their rarity increased by 1 and 2 respectively, and are also great for large hunger meals.
When you fish, you have a chance to catch an item instead of a fish. This follows some loot pool I don’t know about.
When you fish, you have a 1/4000 (not sure) chance of catching a sunken item. this ranges from the Sunken Set (helmet, armour and leggings) to the Sunken Sword, an item seeked out by ice magic conjurors across the globe for the legendary ability to inflict soaked and thus frozen
There are two types of fishing locations.
Freshwater

Ocean
both types have their own unique fish, which can be caught during either the day or the night depending on the fish. Some places also have their own unique fish that you can only catch in that area.
The point of fishing is to either catch random items, or catch fish to either cook or sell.
Bounty Hunting/Assassination Contracts/Rivals
Bounty Hunting and Assassination Contracts are a feature that allows you to basically get a hit on either a randomly spawned npc or a player. This is done though a bounty board or a mysterious figure usually near said board.
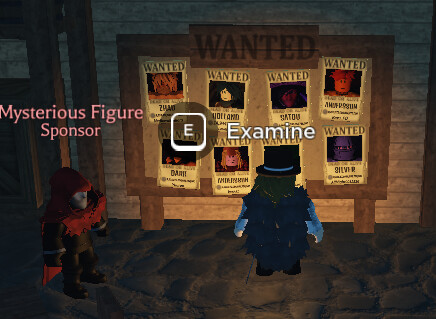
To start bounty hunting, interact with the board first.
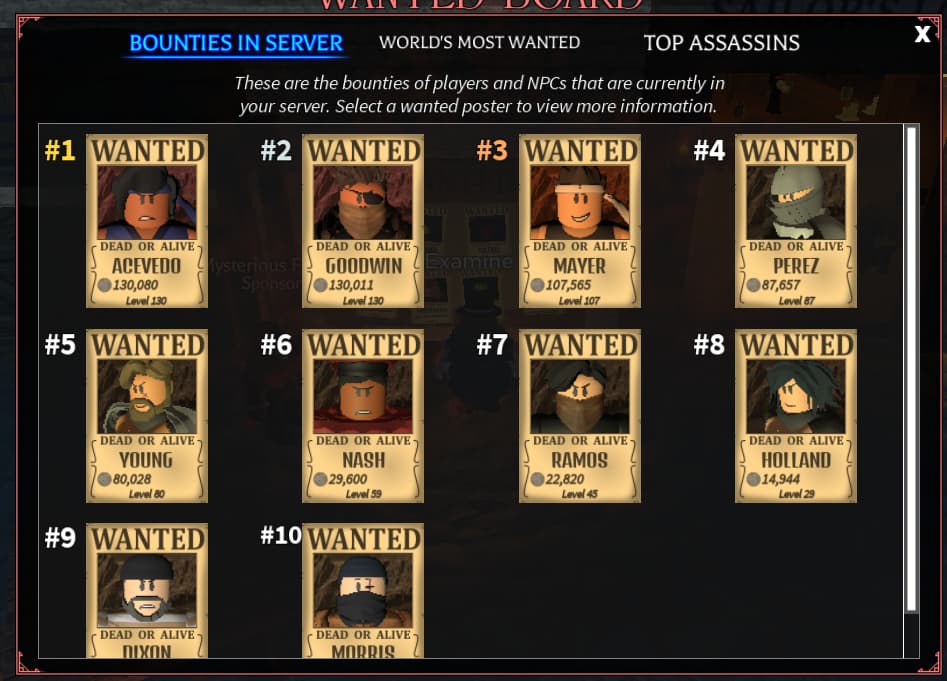
On this board, you can see Bounties in server, World’s Most Wanted, and Top Assassins. The first one is for players and npcs actually in the server. The other two are players with the highest bounty across the entire game, and players in the Assassin’s Syndicate with the highest bounty across the game.
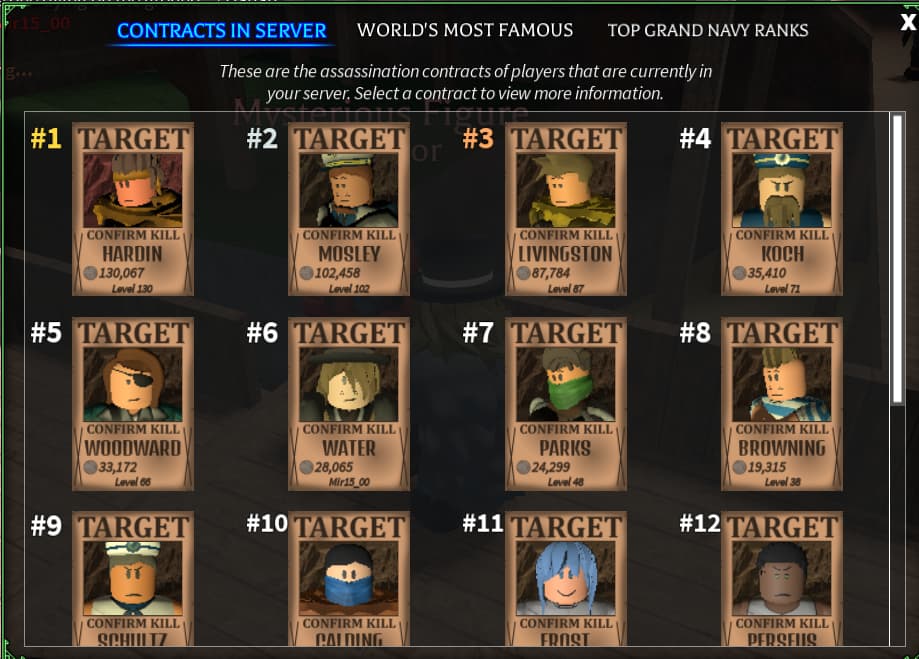
If you talk to the sponsor instead, you can see Contracts In Server, World’s Most Famous, and Top Grand Navy Ranks.
Now, pick a bounty that you think shouldn’t be too difficult
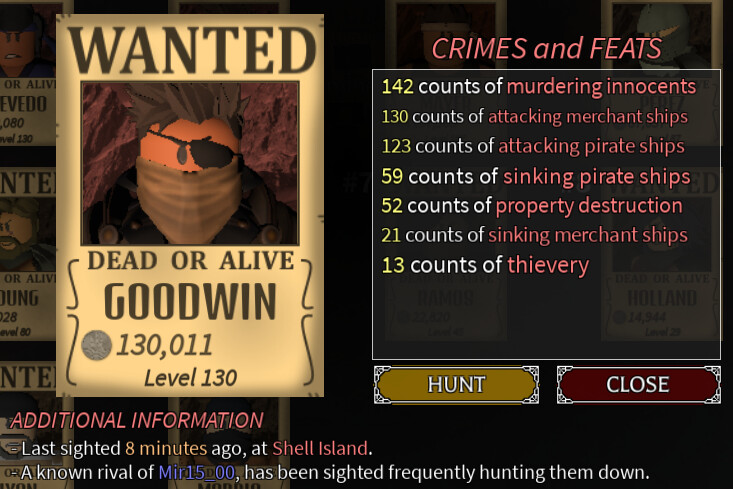
In this case, I picked my rival. Rivals will be explained later on
Now I just have to sail over to the location stated and…
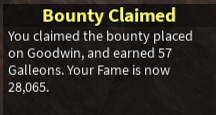
I won!
If you manage to complete your bounty, you will receive a part of their bounty in galleons, and will also gain a % of their bounty, adjusted to your reputation (if they have bounty and you have bounty, you gain bounty. if they have bounty and you have fame, you gain fame). Assassination contracts will always give bounty.
When you defeat an npc, after some time, they “get released” (spawn back in), and you can bounty hunt them again. Npcs that do this gain increased levels when they are released, providing a stronger challenge.
If an npc reaches the requirement for a skill, they will be capable of using it this next time that you fight them. If they are above level 100, their stat build will also gain it’s Awakening. Awakenings are a spoiler mechanic, so they will not be elaborated on.
However, if an npc is above level 100, defeating them will cause them to be Executed. This can be stopped like any other execution, and when an npc is executed, they will no longer spawn. This does not apply to rivals for obvious reasons.
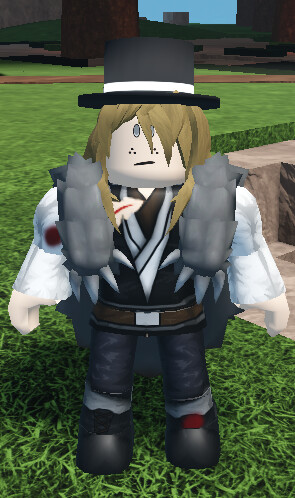
Rivals are a special feature. If you defeat (you do not need to bounty hunt) the same npc 3 times (hero npcs cannot become rivals since you’re assassinating them), they will become your rival. There can only be 1 rival spawned at a time in a server.
![]()
Defeating your rival (you do not need to bounty hunt them) will net you a treasure chart of at least rare quality, though usually higher. Rivals will not be executed nor held in prison.
Spoilers
These Mechanics are spoilers for the game, and I do not recommend reading about them until you have experienced it for yourself
Insanity
Insanity is a mechanic that ranged from 1-5. You can get Insanity by visiting islands that naturally give it, visiting the dark sea, or eating specific meals.
Your tier of Insanity determines what hallucinations you see and how powerful they are.
Warding is a stat that is given by specific gear (not yet in game). It increases time between hallucinations and lowers the intensity of hallucinations. It also lowers damage taken by Insanity 4.
I cannot state enough how much I truly think you should go experience this for yourself. Insanity is incredibly unique, and there’s truly nothing like it. If you haven’t had any yet, sail south of Shell Island for a taste.
Trust me when I say, that you should not spoil higher insanity tiers for yourself.
Also, sorry about having to click a link to see insanity, the files are pretty big
Insanity 1
Insanity 2
Insanity 3
Insanity 4
Insanity 4 is currently unobtainable, but it has effects stronger than Insanity 3, and also damages x% of your health bar every 2(?) seconds, requiring you to get Warding, which weakens this damage, to survive.
Insanity 5
Insanity 5 is not meant to be playable. It has the same effects as Insanity 4, but Warding is completely and utterly useless. You will die to Insanity 5 no matter what.
Bosses, Incomplete
Bosses are the main way of testing skill. Most are fought through the story, though some are simply on an island and can be fought whenever, usually with a side quest involved
The Wandering Ronin
Shura, The Wandering Ronin
Shura is the first boss battle in the game. He usually teleports, then either casts a cloud of acid or does one of several slash attacks with his katana. Dash away when he teleports to avoid all of these.
Shura has no drops, and is currently the only boss to do so. Thus, he has no Mirage refight.
The Anomaly
Iris, The Anomaly
Iris is a mage that’s basically just a normal npc with a cool magic. She usually uses blasts, either singular or multiple, and sometimes explosions, placed or self if close enough
Iris drops the Vermillion Bracelet, an Accessory that can be upgraded up to level 80. It gives some power and intensity